


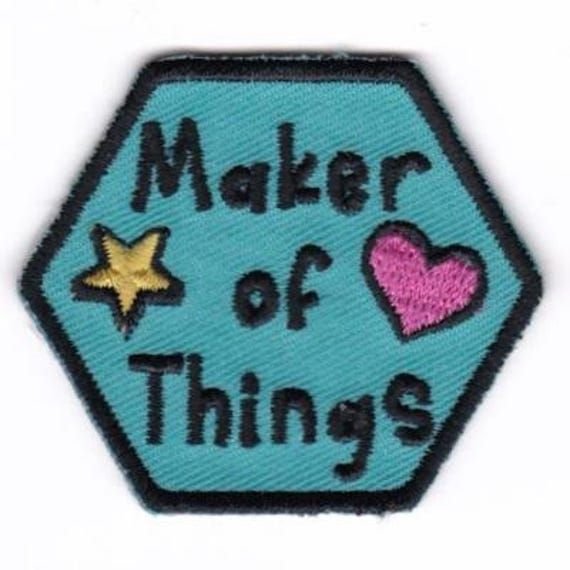
Not everyone starting a patch project has a design budget — and the good news is, you don't need one. Between free web-based tools, downloadable templates, and simple AI generators, it's entirely possible to go from a rough idea to a print-ready patch design without hiring a designer or buying software.
This guide covers the practical side of DIY patch creation: what tools to use, how to keep your design production-ready, and where the free route starts to hit its limits.
Why Go the Free Route First
Whether you're a small business testing a logo, a club making patches for members, or a hobbyist personalizing a jacket, it rarely makes sense to invest heavily in design work before you know exactly what you want. Sketching out a few concepts for free lets you:
- Compare different layouts side by side
- Test color combinations before committing
- Get a feel for sizing and proportion
- Avoid paying twice for revisions
Once you're happy with a concept, that's the point to move toward production-ready files.
Tools That Make Free Design Possible
A handful of accessible tools cover most of what a beginner needs:
- Drag-and-drop design platforms – good for adding text, shapes, and basic icons
- AI-assisted generators – useful for quickly generating multiple concept variations from a short text prompt
- Vector editors – helpful once you need clean, scalable line art for embroidery
None of these require design experience to get started, though a bit of trial and error goes a long way in getting a clean result.
Starting From a Template Instead of a Blank Page
One of the fastest ways to shortcut the design process is to work from a pre-built layout rather than starting from scratch. A Free Patch Design Template gives you a ready structure — proportions, border spacing, and placement already worked out — so you're only adjusting colors, text, and icons rather than building the whole layout yourself.
This approach is especially useful for:
- Military or tactical-style patches with strict layout conventions
- Motorcycle club patches with traditional shapes and borders
- Iron-on patches for uniforms or team gear
Common Mistakes to Avoid
Even with free tools, a few habits separate a clean design from one that looks amateurish once stitched:
- Overcrowding text – long slogans rarely embroider well at small sizes
- Using gradients – embroidery thread works in solid colors, not blends
- Ignoring the border – a defined edge keeps the patch from looking unfinished
- Skipping the proof stage – always review a digital mockup before ordering
From Free Design to Finished Product
A free design tool gets you a concept — but turning that concept into an actual, wearable patch requires a manufacturer that can digitize the artwork and produce it in your chosen material. This is where working with a dedicated patches maker makes the difference, since they can take your free-tool mockup and convert it into a production-ready embroidery file, complete with backing options like iron-on, sew-on, or Velcro.
Final Thoughts
You don't need a design budget to create a patch that looks professional. Start with a free tool or template, keep the design simple and bold, and review a proof before production. The free tools get your idea on paper — the right manufacturing partner turns it into something you can actually wear.

 Arabic
 French
 Spanish
 Portuguese
 Deutsch
 Turkish
 Dutch
Dutch
 Italiano
 Russian
 Romaian
 Portuguese (Brazil)
 Greek
Greek